
|
|
|
 |
Turnings are made from dried blanks and can conform to a variety of patterns. Traditional woods used for turnings are hard maple, cherry, and birch. If you are a purist, certain turning styles should not be matched with certain types of chairs because they did not appear historically at the same time. Functionally, however, any style of turning can match any style of chair. See the various styles of turnings available at No Wood Unturned here. |
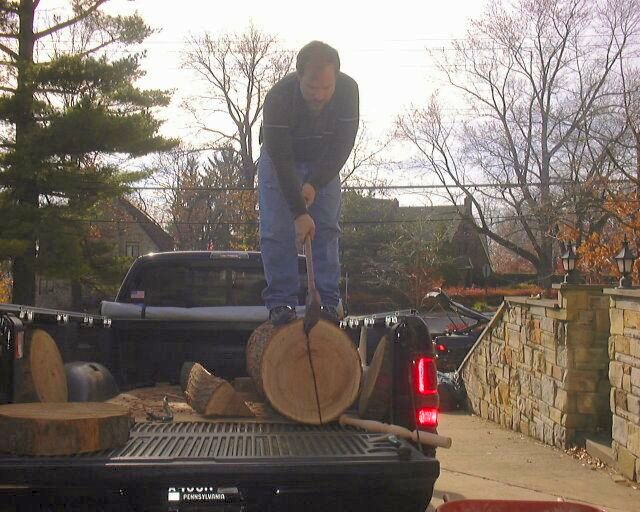 |
One of the processes that separates traditional chairmaking from factory chairmaking is depicted here. The material for the spindles, bent arms, bows, and crests is prepared differently that you might think. All of the material for making spindles and for the steam-bent parts is split from green logs... in this case a red oak log. The log is split (or rived) further and further until it eventually ends up the size of a blank for whatever part that is being made. The reason for taking this trouble is that the part will have straight grain running all the way through the part and will ultimately be much stronger than an equivalent sized part that is sawn. Also, parts which will be bent have much less chance of splitting when they are created in this way. | |
 |
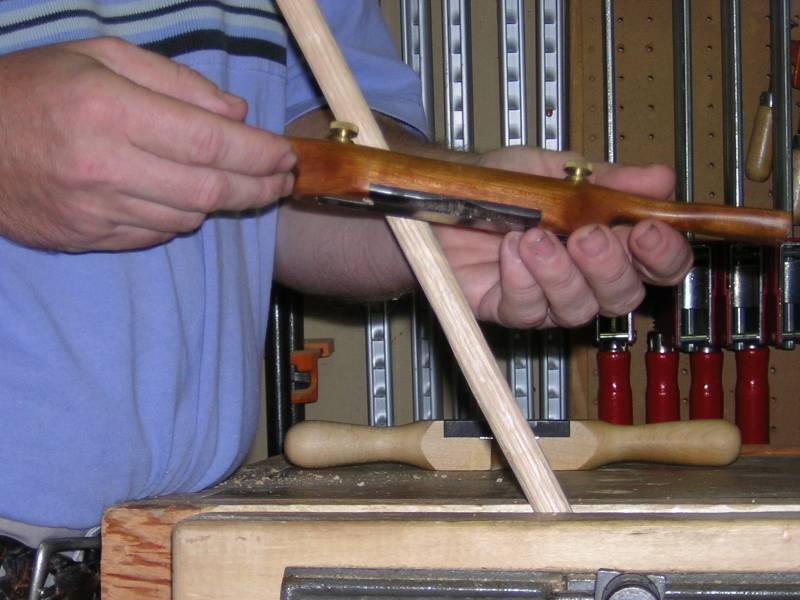 |
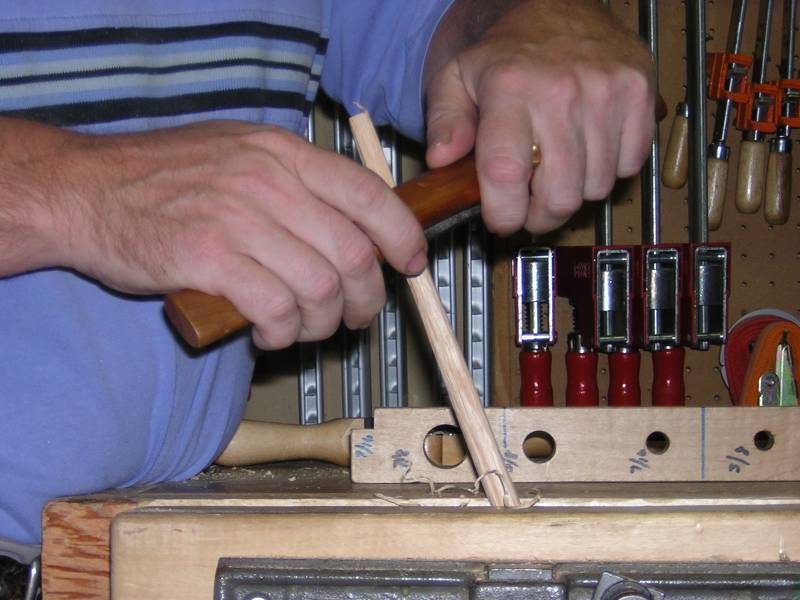
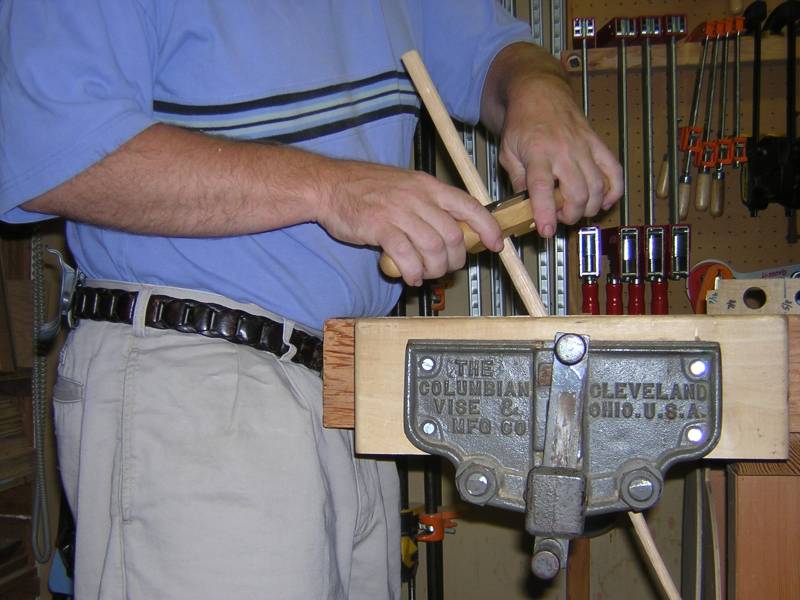
After rough shaping of the spindle blank with a drawkinfe, the final shaping is completed with a spokeshave. In the picture on the far left, the end of the spindle is being tapered to fit into a bow. The righthand photo shows my homemade spokeshave. The shave was made based on the information found here. |
 |
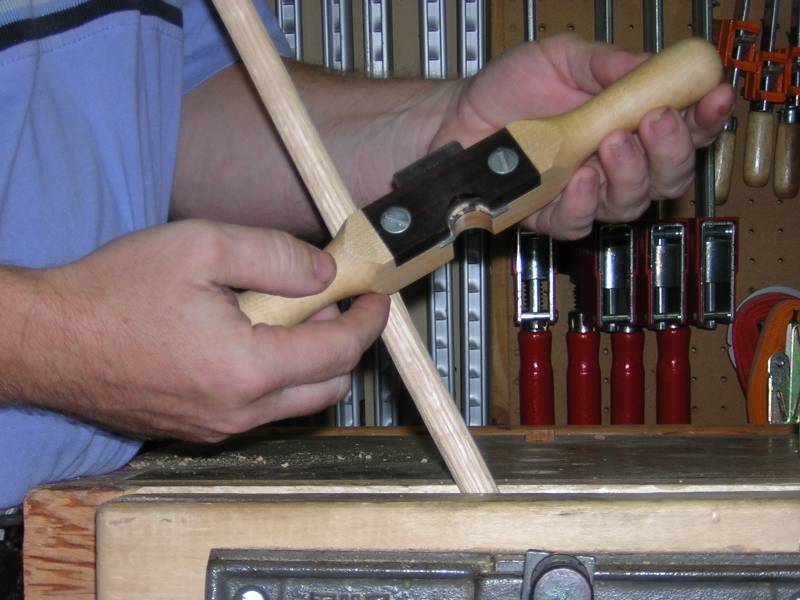 |
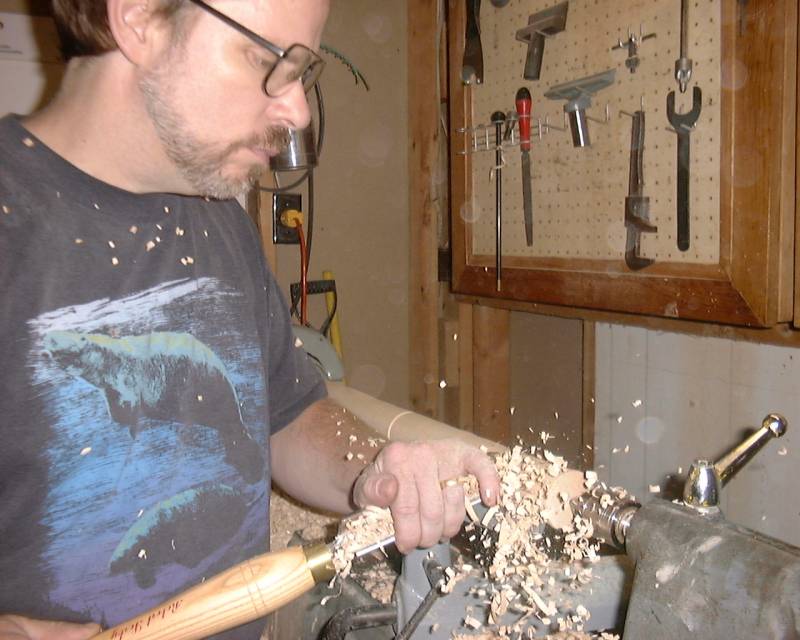
For the final shaping of the spindles, I use a homemade chairdevil. It is very similar to the chairdevil shown in Drew Langsner's book on chairmaking. Prior to assembly, a faceted tenon is cut on the bottom of the spindle - see assembly for details. |
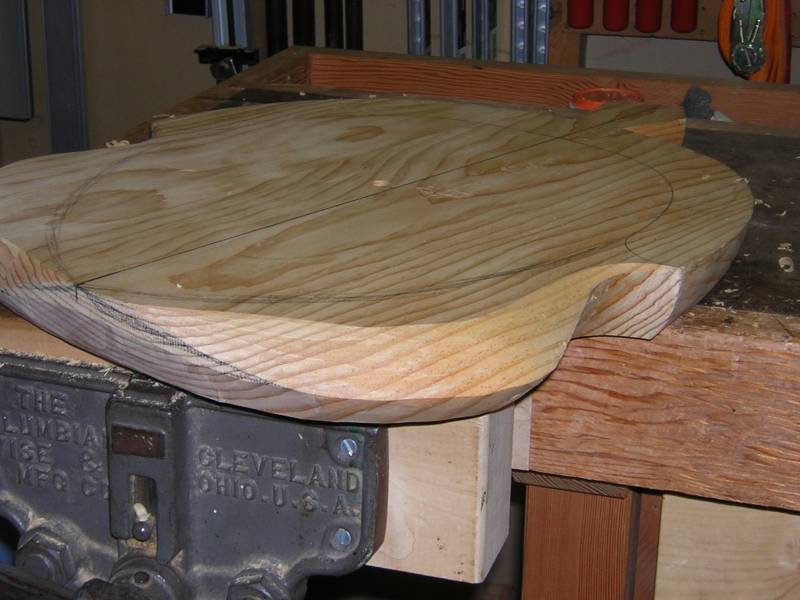
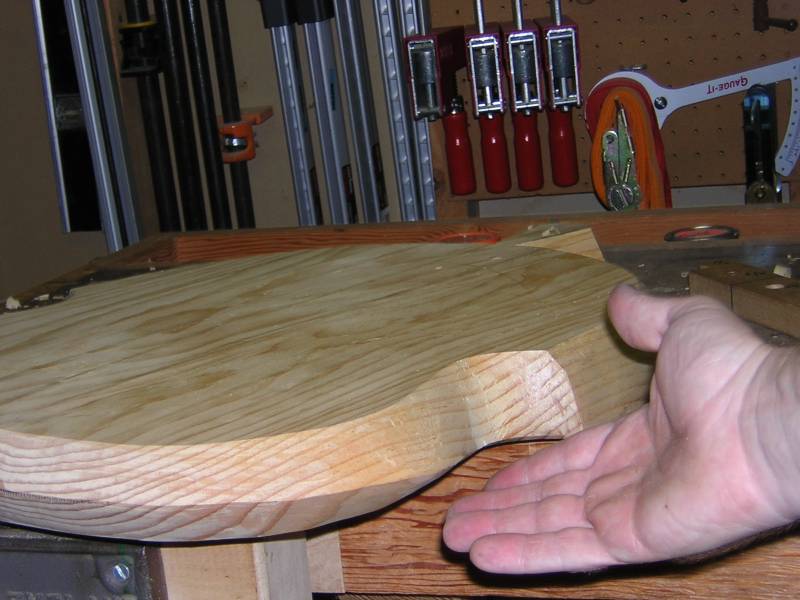
| The seat shaping starts by cutting out the general shape with a bowsaw or a bandsaw. Next the edge of the seat is shaped using a drawknife (left) and a spokeshave (right) |
 |
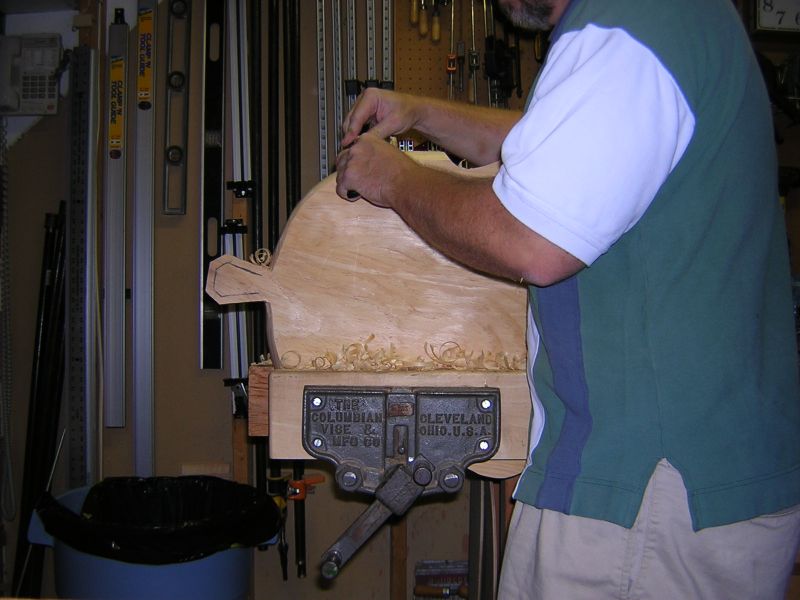 |
| Here is the result of the rough shaping of the edge. The back of the seat is pretty much the final shape, the goal of the front edge shaping is primarily to separate the top and bottom with a nice shape. |
 |
 |
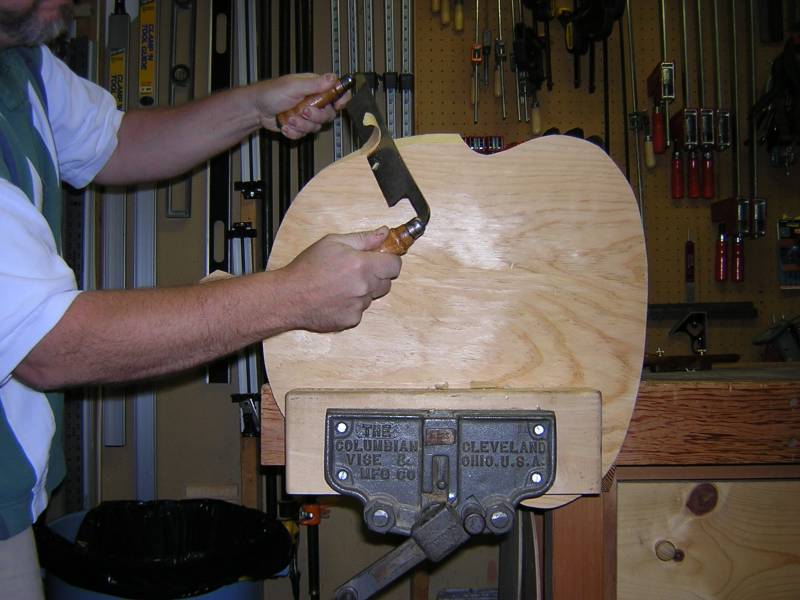
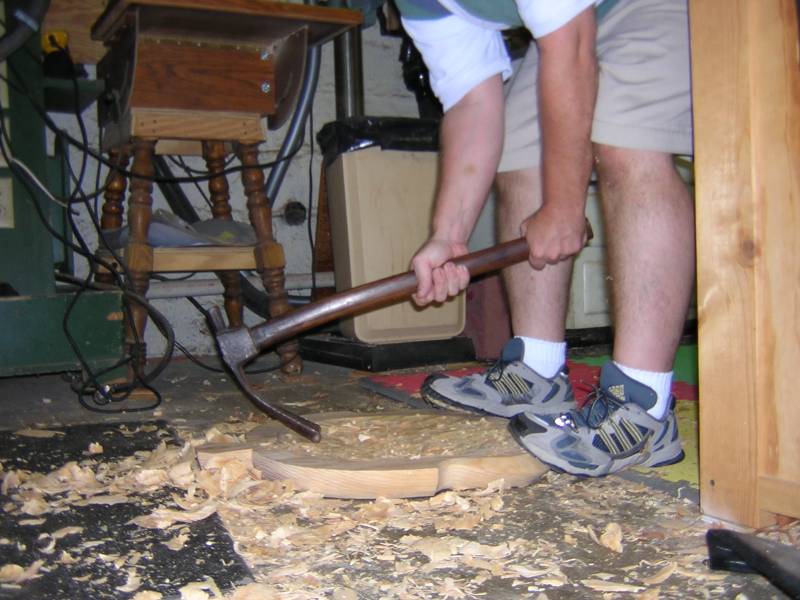
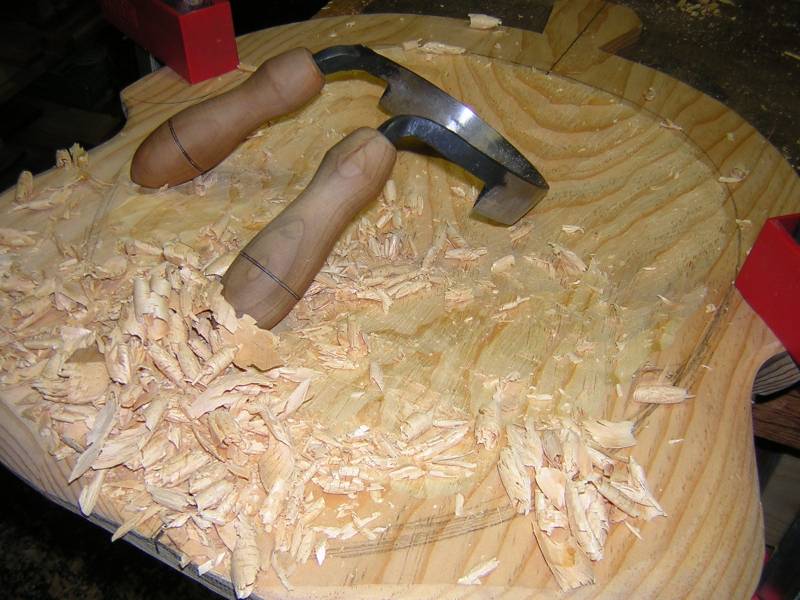
| The next portion of seat shaping is to complete the saddling. This process is accomplished roughly at first using an adz (left) and a scorp (right). |
 |
 |
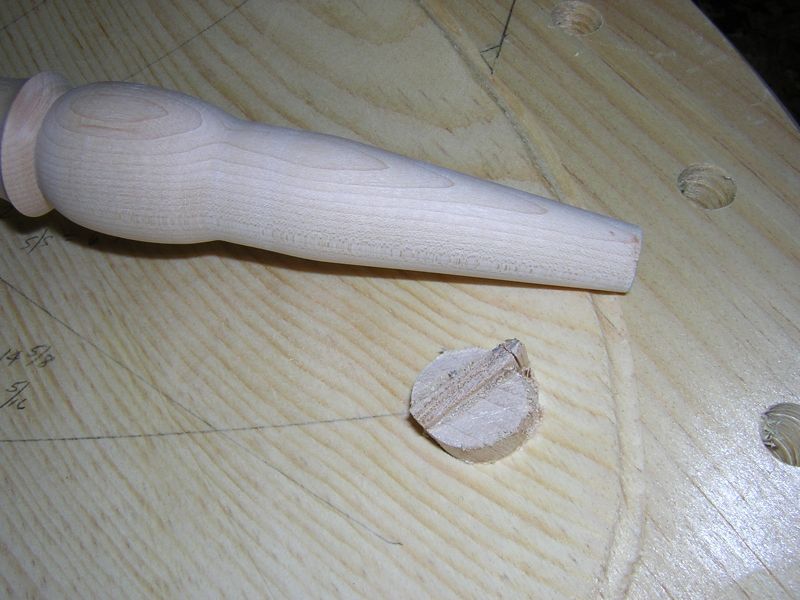 |
Photo showing the taper at the top of the chair legs and also the joint where the end of the taper protrudes above the chair seat. After the top of the leg is trimmed close to the seat, the leg is split, and a wedge is driven into the leg. Notice how the wedge is slightly wider than the leg so that the tapered joint is "keyed" into the seat to eliminate the leg rotating. |
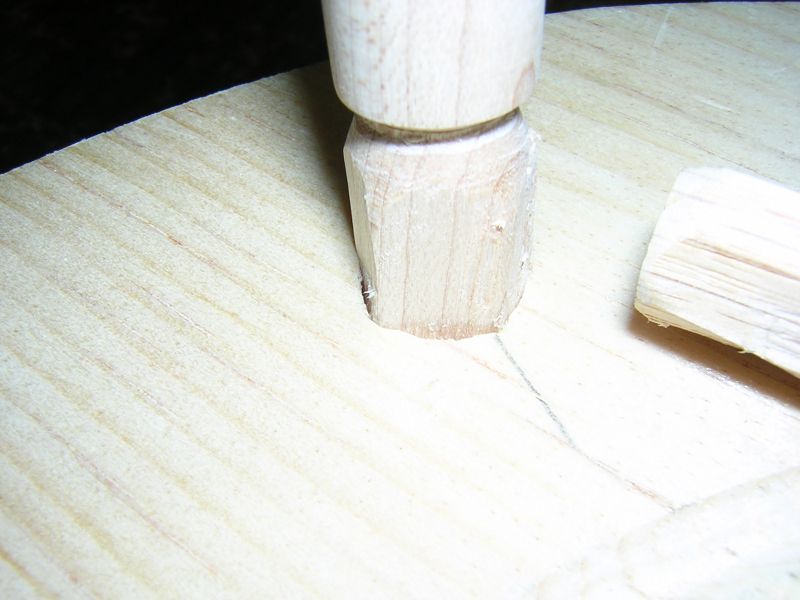 |
Photo showing how the spindles have facets cut into the tenons at their ends. The seat is made of a softer wood than the spindles. The tenons on the spindles are slightly larger than the holes. During final assembly of the chair, the tenons of the spindles are driven into the seat and slightly deform the seat, thus locking them into place |